Fall is my favorite time of year. I love the temperatures of early to mid-fall, sometimes the days are warm and other days are cool and crisp, well suited for wearing a sweatshirt, sweater or light weight jacket. The colors are gorgeous….the leaves on the trees begin to turn red, yellow, gold and orange and the mums and some bushes add to the beauty of the season. I like the feel and even the way the air smells and after the long hot days of summer, that make me feel limp and lethargic, I feel energetic and reborn in the fall.
One of my most favorite things about autumn is the produce that is in season, especially apples. I know you can get apples all year round, but in my opinion, the best apples are the ones that are only available in the fall….Jonathan, Winesap, Honeycrisp, Cortland, etc. They are so good and are great to just grab and eat or even better, to use in baking.
One day while out running errands, Michael and I stopped by a local farm stand where they had a nice selection of apples so I purchased some Jonathan, Cortland and Honeycrisp. I thought about using some to make a pie but since I had just made a cherry pie, decided to make a cake instead. As I was going through some of my recipes, I came across one that I hadn’t made in years. It’s a delicious cake and when I first discovered the recipe, I used to make it often but as newer recipes made their way into my files; this one was pushed aside and forgotten.
I’m a long time subscriber to Taste of Home magazine….I’ve been getting it since it was first published back in the 90’s and have all, except the first magazine, in my collection. This recipe happens to come from the second magazine that Taste of Home published. Apple Walnut Cake
1 2/3 cups sugar
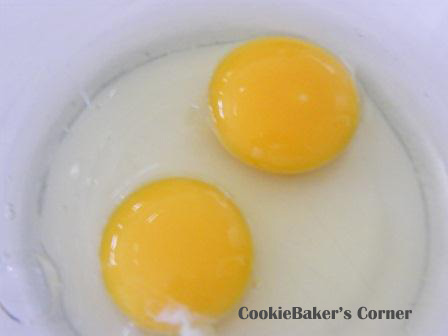
2 eggs
1/2 cup vegetable oil
2 tsp vanilla extract
2 cups flour
2 tsp baking soda
1 1/2 tsp ground cinnamon
1 tsp salt
1/2 tsp ground nutmeg
4 cups chopped, unpeeled apples (4 or 5 apples)
1 cup chopped walnuts
Frosting
1/2 cup of butter (1 stick), room temperature
8 oz of Philly cream cheese (1 package), room temperature
2-3 cups powdered sugar
1 tsp of vanilla extract
1. In a mixing bowl, beat sugar and eggs.
2. Add oil and vanilla; mix well.
3. Combine flour, baking soda, cinnamon, salt, and nutmeg; gradually add to sugar mixture, mixing well.
4. Stir in apples and walnuts.
5. Pour into a greased and floured 9x13 inch pan.
6. Bake in a 350 degree oven for 50-55 minutes or until cake testes done.
7. Let cool.
Frosting
1. With an electric mixer, mix the butter and cream cheese together, about 3 minutes on medium speed until very smooth. Scrape down the sides and bottom of the bowl to ensure even mixing.
2. Add the vanilla extract and mix. Slowly add the powdered sugar. Keep adding until you get to desired sweetness and thickness.
3. Frost cooled cake
Mix sugar and eggs. You can use an electric mixer, but I find that mixing with a whisk works just fine.
Add oil and vanilla; mix well.
Pre ground nutmeg doesn’t stay fresh very long, so I buy the whole nutmeg and using a hand grater (rasp), grate it myself. Not only is the nutmeg fresher but it smells heavenly.
Vietnamese cinnamon is my favorite…has a stronger flavor. As many of you know, I’m a big Penzey’s fan so buy most of my herbs and spices from them; never fear, you don’t have to purchase this cinnamon online, you can find Vietnamese cinnamon at the supermarket.
Clockwise from top: cinnamon, salt, nutmeg and baking soda.
Add to flour and mix with a whisk.
Gradually add flour to sugar mixture.
I apologize for my lack of pictures at this point. As I mentioned earlier, it’s been a long time since I’ve made this cake so, as I was combining the flour with the sugar mixture, the batter became quite thick, more like a cookie dough than a batter. I was getting concerned, thinking I had left something out of the recipe so stopped to read the list of ingredients. When I saw that I hadn’t made a mistake, I proceeded where I left off and forgot to photograph the batter before adding the apples and walnuts. So, if your batter looks like cookie dough, don’t worry, it’s supposed to look that way. Trust me; it will work out just fine.

Chopped apples. Chop the apples in smaller pieces if you want but I like them this size. Don't worry about the peels, that concerned me the first time I made this. After the cake is baked, you won't even know they are there. I love that I didn't have to peel the apples, that's my least favorite thing about baking with them, just be sure to wash them well before chopping.
Chopped walnuts.
Combine batter, apples and walnuts.
Pour into greased and floured pan. The batter is so thick, you have to spread the batter, it doesn't really pour.
Bake for 50-55 minutes or until cake tests done. Allow cake to cool before frosting.
I had just put the cake on a cooling rack and was ready to walk away when I turned back around and noticed Michael, with spoon in hand, ready to dig into the cake. I said, “Don’t touch it, don’t you dare touch that cake. I still have to frost and photograph it.” The look on his sad face was priceless. I stood there until I saw him walk away before I left the kitchen.
Combine 8 oz. cream cheese and 1/2 cup butter.
This cake had a cream cheese frosting recipe but it called for 2 3 oz. packages of cream cheese. I don’t know about you, but I usually have cream cheese on hand but it’s the 8 oz. packages, not the 3 oz. So I used a recipe that called for 8 oz. of cream cheese.
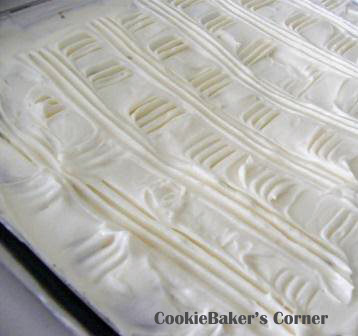
Mix in vanilla and powdered sugar.
Ready to frost the cooled cake.
The cake tasted as good as I remember. The apples release their juice while baking making this a moist and tasty cake. Reminds me a lot of carrot cake, only made with apples.
Michael was very happy….he grabbed his trusty spoon as soon as I finished snapping photos.